Tapestry Technique With Adobe PhotoshopText & Photographs By Linda Phelps © All rights reserved.
|
Have you admired those tapestries you see hanging on the walls in old buildings like castles or the Vatican? Now you may have the fun of making your favorite photos look like those you have seen.
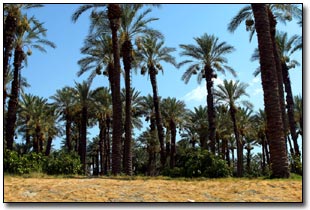
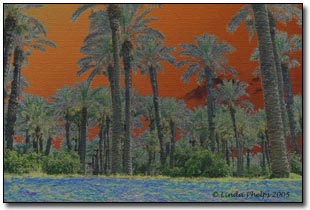
The example I used here looked rather mundane when I first opened it. I decided to try on a couple of filters to see if I could improve the look of these Date Palm Trees. When I added the solarizer filter the result reminded me of a tapestry! I am really pleased with how this technique turned out. It so simple to do!
First pick an image that you think would look good with this kind of treatment. Finish up all the editing you want to do for this photo. Add any filters or make any adjustment to bring your photo close to the look of a tapestry.
Start by clicking filters, go to texture, click on texturizer and choose burlap. Set the scaling at 100 %, the relief at 6 and set the light direction at top. Having the light set at the top is the key to the tapestry look. To finish up go to filters, click on unsharp mask. Set the percentage about 135% using a radius of 1.0 and 0 for the threshold.
|
|

