|
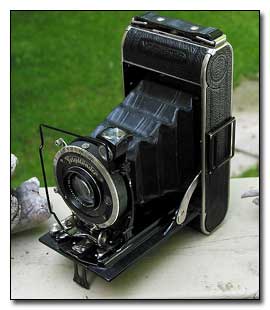
I am an old guy who learned photography in a different way. One of my first cameras was an old 35mm fixed lens (a very inexpensive camera). I think I did select the real glass lens instead of plastic, even though it was still fixed. "Fixed" lens means that there is no way to focus. There was nothing to set. The shutter speed was fixed at 1/60th or 1/100 second (if I can remember correctly). You could not add filters and all you could do is point and shoot. The film could only be developed as a 3x5 inch print.
But, I learned there were "settings" I could make with this camera in order to increase my ability to get much better photos.
First I made a photo test. I set up a scene that I had measured out in distance. I posted some magazine covers along the side of a fence. I made all the covers face along the fence so I could stand at one end and see all the covers. Then I made a picture. When I got it back I could see which magazine covers were in very sharp focus and which were not.
 A fixed lens is in focus only at one distance. This camera was very sharp at 6 feet to 8 feet. So I always remembered to keep my main subject within 6 to 8 feet and then the subject was in focus and sharp.
Another thing I could do was use different films. We had ASA 25 and 64 and 80 and 100. We also had color and black and white. So I really could adjust the "shutter speed" by using different speeds of film. (Up to a point)
So from then on I always brought along my tape measure to make sure my subject was within the sharp focus zone. Depending on the film I had loaded, I could shoot in very bright sun or dark shaded areas. From then on most all the photos I made were good, in a technical sense.
Then I started learning about composition, etc.
I just want to let people know that with a very cheap fixed focused, non adjustable camera, it is possible to walk away with some pretty good photographs. In fact Kodak used to show winning shots in their advertisements.
Having $20,000.00 worth of camera gear does not make a photographer. The photographer may still end up with a bunch of high tech "snap shots" and nothing more. All the fancy camera gear and equipment will not make a person a great photographer.
It takes a lot of trial and error learning. Always pay attention to what you did. I used to make notes on paper of every shot - listing the shutter speed, the f stop and the film type. It's always productive to be able to look back as to why one photo was good and another one wasn't.
Learn from the experienced photographers on photography forums as most photographers are more than willing to help a person learn.
And, shoot lots of film or digital film. But shoot with a purpose in mind. Pick a subject ahead of time and shoot it over and over... in different light... from early morning to high noon... to late evening and perhaps even in the dark with artificial light.
Then one day you may notice one of those shots look much better than all the others. If you keep notes about the conditions and lighting, you may be able to duplicate it and enhance it to make it the finished result even better.
Eventually, you can learn to "see" a photo of a subject in your mind before you even shoot it. You can even learn to "see" it in different light, up close or even farther away. Then set up a plan and go try it out and try. If it does not come out right, go back and try again with some different plans. One day you will be able to "visualize" a subject, see it just the way you want it and you will be able to capture it correctly.
So keep shooting and learning.
| 
