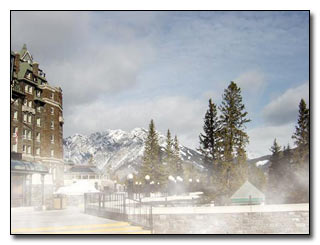
Sometimes you might want to add a little fog to your photograph to give your photograph a totally different look. The following instructions describe how to add fog to your photograph using Adobe Photoshop.
1. Open the file. Choose File --> Open --> Enter the image name to be fixed.
2. Hold the Ctrl Key down and hit the + key a few times to zoom in the image to a size you need to work with.
3. Using the Lasso Tool on the toolbar, outline an area that you want to be fogged with zero (0) feathering)
4. Put the selected area on its own layer by either (Ctrl+J) or Choose Layer --> New --> Layer Via Copy.
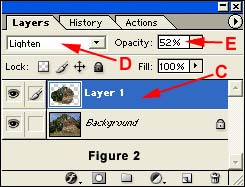
5. On the layers palette, click the Layer 1 Thumbnail while at the same time holding the Ctrl key down (Figure 2 - C). This will create a selection outline around layer.
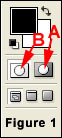
6. Use Quick Mask by clicking the "Select Edit In Quick Mask Mode Button located at the bottom right of the toolbox (Figure 1 - A).
7. Choose Filter --> Blur --> Gaussian Blur to blur the Quick Mask (start with 95 pixels and change to suit your taste).
8. Exit Quick Mask by clicking on the "Edit In Standard Mode Button" located at the bottom left of the toolbox (Figure 1 - B).
9. Deselect the selected area by either (Ctrl+D) or Choose Select --> Deselect.
10. Click on Layer 1 Thumbnail (Figure 2 - C). From the pull down layer types, change the layer from Normal to Lighten (Figure 2 - D).
11. On the Layer 1 Thumbnail change the opacity from 100% to a lower percent to suit your taste (Figure 2 - E).